 |
I love finding new ways to incorporate technology into my classes. When I do use a new piece of technology, I always ask myself a few questions. One question is always - "is it something that I can now do better or couldn't do before without the technology?" If I cannot say yes, then I rethink the option.
| |
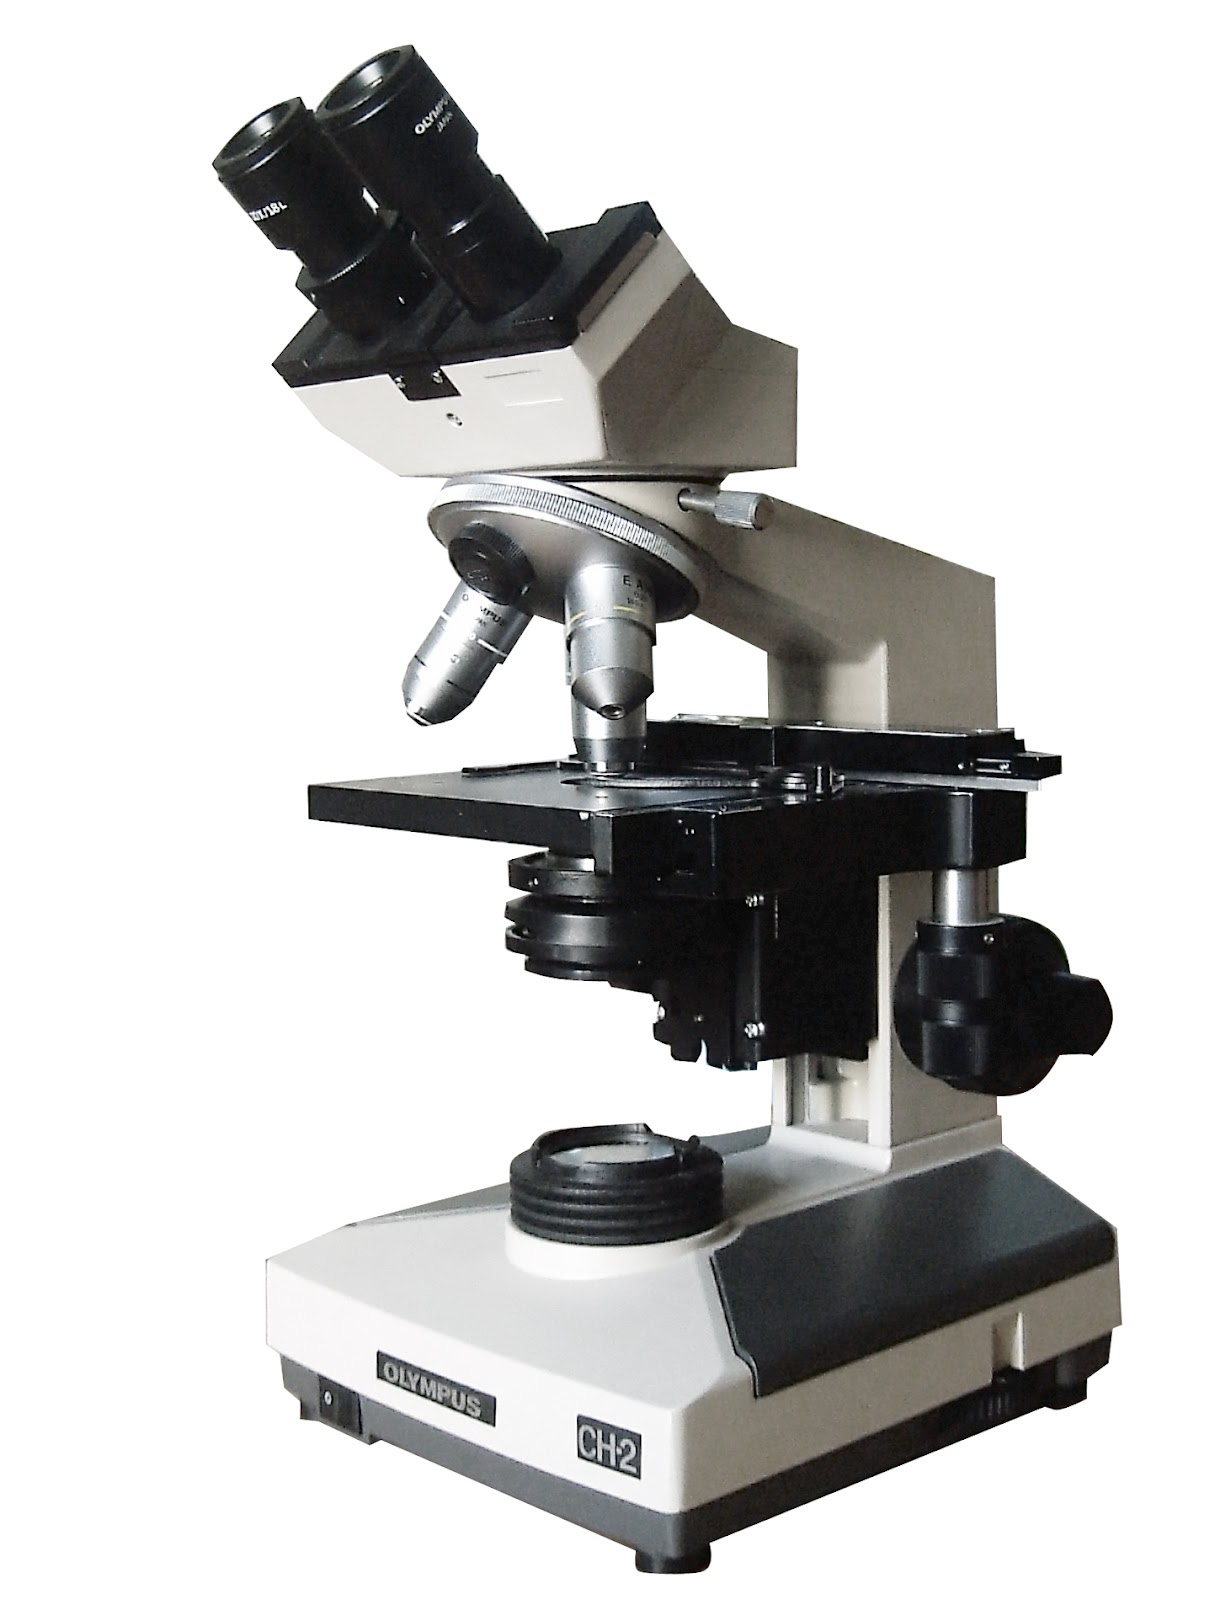
I asked myself this question again recently when I had purchased digital microscope cameras for my anatomy class. When my students use the microscope in class, it is a skill that always needs to be relearned by most because they haven’t used the microscope in at least three years. The other issue with using microscopes is that only one student can look through the eyepiece at a time. So, inevitably, one student in the pair isn’t doing anything while the other is looking for the specimen. Additionally, students complain that their eyes get tired and it is often hard to see through the eyepieces. Finally, I have to squeeze in between lab desks in order to look through the scope in order to offer assistance and check to see if they have found the right image, even though they have a sample on the projector. We won’t even discuss how hard it is to get the students to accurately draw and label what they saw through the scope! It has always seemed pointless to me because the drawings do not even resemble what they were supposed to look at.
| ||
 |
What can I do to make it easier? This has been an issue for years.
| |
 |
Enter the digital microscope camera
connected to a chromebook!
| |
Class savior! I had one camera as a trial the last two years and it seemed like it would be a viable option. However, the model I found was expensive. So, getting enough for all of my students was tough. In the meantime, I had students take pictures with their phones through the eyepiece to share with me and others. It wasn’t the solution. However, this year, I found an inexpensive digital microscope imager that can replace the eyepiece on my microscopes and connect to my chromebooks via USB cable. We can then use the camera app on the chromebook to view the image, save it and then annotate it in google slides.
|  | |
Wow. Game change for me and even more so for my students. The live feed from the microscope is displayed on the chromebook screen, so everyone in the group can help with focusing and deciphering what they are looking at. Being able to save the image and annotate it in google slides is also critical. Now, students can use the real images from class to study for a test and I can see right away if they are looking at the right section of the slide.
| ||
 |
Last year, I also realized another benefit. I had a student that was color blind. He couldn’t tell the difference between the shades of pink commonly used in microscope tissue stains.
| |
But with the digital microscope camera, we could apply filters or use the image options in google slides to recolor the image with a color scheme that he could see. What a lifesaver for my student who normally felt left out and frustrated.
| ||
Why haven’t I found these before? Why did it take so long to get a solution? I have no idea, but I’m glad I found them for one main reason - my students. Once they got the hang of which app to use, switching from the web camera to the microscope camera and taking focusing with the microscope, they all really like it. I even had one student proclaim - “I’ve never been able to use a microscope, but this way, I actually can do this!” Thank you! This is why I do what I do. It’s for my students. It’s not about making it difficult. It’s all about making it easier for my students and assist their learning.
Now to find another revolutionary tool or hack for my class. I hope this helps someone else out.
| ||
Monday, October 9, 2017
Digital Anatomy Classroom
Subscribe to:
Post Comments (Atom)
No comments:
Post a Comment